You’re in for a nostalgic, sweet-and-salty treat with this one. These Disneyland Peanut Butter Squares are inspired by the iconic snacks sold at Pooh Corner in Disneyland’s Critter Country. If you’ve ever had one, you know—they’re rich, peanut buttery, chocolatey, and taste like childhood magic. If you haven’t? You’re about to bring a little Disney joy into your kitchen.
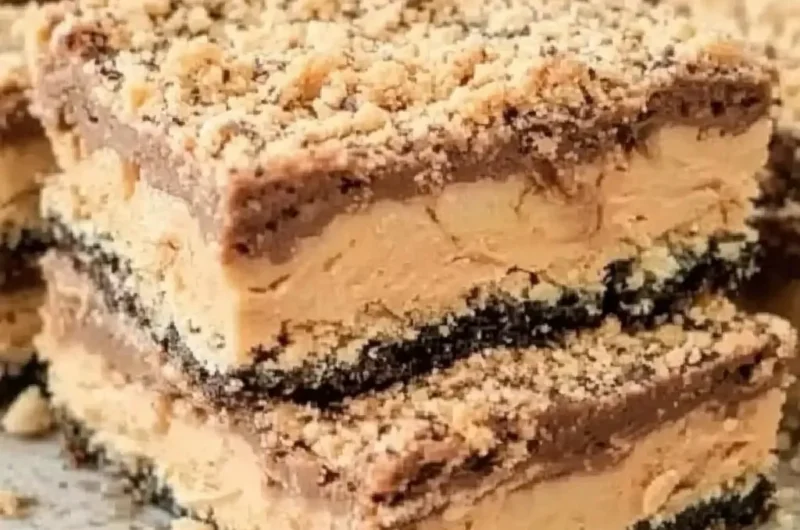
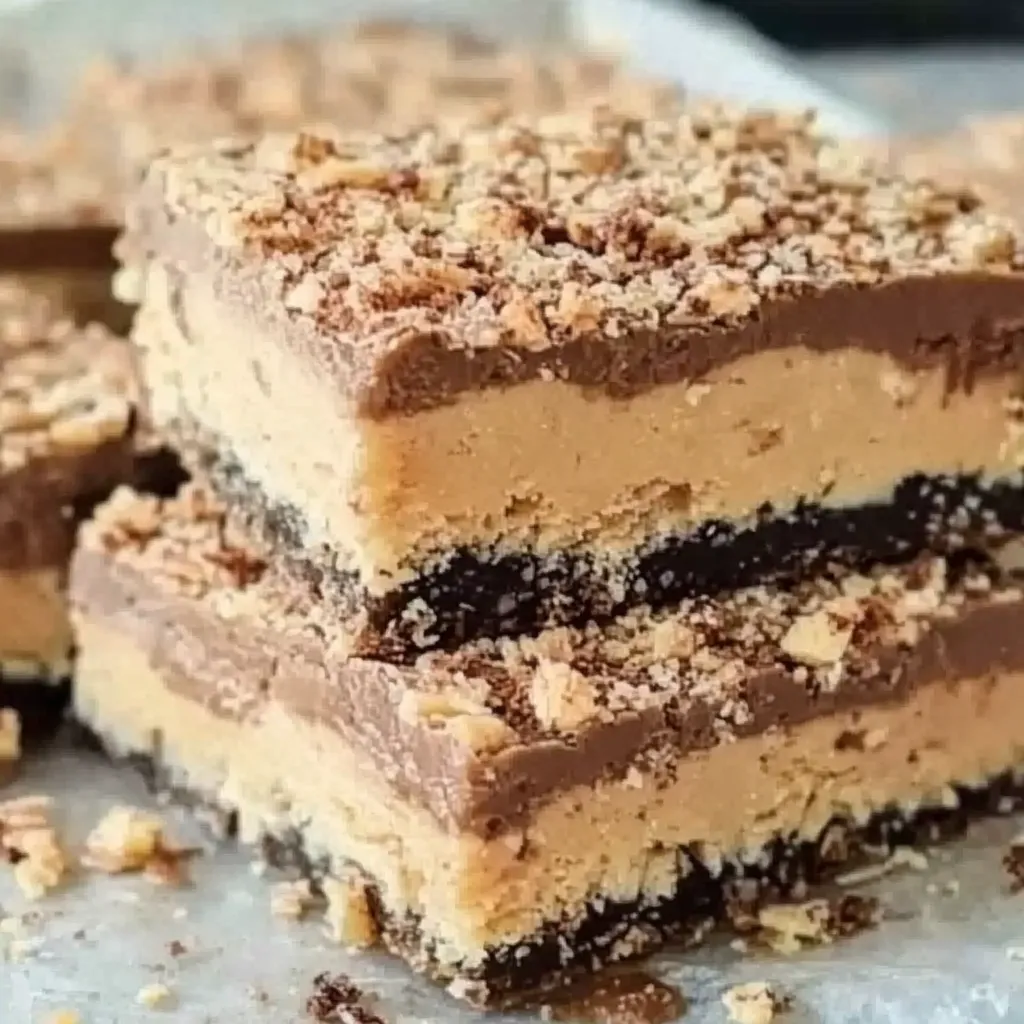
This recipe delivers that same creamy peanut butter filling topped with a smooth chocolate layer, all on a buttery graham cracker base. No baking required. No fancy tools. Just three layers of pure dessert bliss. They’re perfect for parties, picnics, or keeping in your fridge for whenever you need a bite of something special.
Let’s get into the magic.
There’s something so satisfying about that soft peanut butter layer. It’s creamy but firm, sweet but not overwhelming, and it has just the right amount of saltiness to balance the chocolate. When you chill these bars and cut into that smooth, glossy top layer, it’s like slicing into a little square of happiness.
I started making these at home after one too many post-Disneyland cravings. They were always my must-have snack—right after a Dole Whip and churros, of course. I’d bring a few home in a napkin-wrapped bundle, pretending they’d last more than a day. Spoiler alert: they never did. Now I just make them whenever I want a piece of the park without booking a trip.
Why You’ll Love This Recipe
- No baking required:
You just mix, layer, chill, and slice. Super easy. - Three decadent layers:
Buttery graham cracker crust, smooth peanut butter filling, and a thick chocolate topping. Every bite is balanced and rich. - Perfect for sharing (or not):
Cut them into big bakery-style squares or smaller bites for a crowd. - Freezer-friendly:
Keep them stashed for whenever you need a Disneyland-style treat. - Nostalgia meets real-life indulgence:
If you love the original, you’ll love these even more because they taste fresh and homemade.
Prep Time and Yield
Prep Time: 20 minutes
Chill Time: 1 to 2 hours
Yield: 16 squares (depending on how you cut them)
Calories per square: 320
Protein: 6g
Carbs: 25g
Fat: 22g
Ingredients
For the crust:
- 1 ½ cups graham cracker crumbs (about 10–12 full crackers)
- 1/2 cup unsalted butter, melted
- 2 tablespoons brown sugar (optional, for a slightly sweeter base)
- Pinch of salt
For the peanut butter filling:
- 1 cup creamy peanut butter (natural or shelf-stable both work)
- 1/2 cup unsalted butter, softened
- 1 ½ cups powdered sugar, sifted
- 1/2 teaspoon vanilla extract
- Pinch of salt (helps balance the sweetness)
For the chocolate topping:
- 1 ½ cups chocolate chips (semi-sweet or milk chocolate)
- 1 tablespoon peanut butter (optional, helps make the topping smooth and shiny)
Step-by-Step Instructions
1. Prepare the crust
- In a mixing bowl, stir together the graham cracker crumbs, melted butter, brown sugar (if using), and salt.
- Press firmly into the bottom of a parchment-lined 8×8 or 9×9 inch pan. Use the bottom of a measuring cup or glass to press it down evenly.
- Place in the fridge or freezer while you make the filling.
2. Make the peanut butter layer
- In a separate bowl, use a hand mixer or stand mixer to cream together the peanut butter and softened butter until smooth.
- Add the powdered sugar, vanilla, and salt. Beat until creamy and fluffy—it should be thick but spreadable.
- Spoon the mixture over the chilled crust and spread evenly with an offset spatula or back of a spoon.
- Chill again while you make the topping.
3. Make the chocolate topping
- In a microwave-safe bowl or over a double boiler, melt the chocolate chips with the peanut butter, stirring every 20–30 seconds until smooth.
- Let it cool slightly so it’s not too hot, then pour over the peanut butter layer.
- Gently tilt the pan to spread the chocolate evenly, or use an offset spatula.
4. Chill to set
- Place the whole pan in the fridge for 1–2 hours or until firm.
- Once fully set, use a sharp knife to cut into squares. Wipe the knife clean between slices for neat edges.
Optional but magical: Sprinkle with a few flakes of sea salt before the chocolate sets. It adds that irresistible salty-sweet vibe.
How to Serve
- Classic Disneyland style:
Cut into large squares and serve slightly chilled. - Party platter:
Cut into bite-sized pieces and arrange on a dessert tray. - With coffee or milk:
These are rich—something creamy to drink balances the sweetness perfectly. - Make it a dessert bar:
Serve alongside rice krispie treats, brownies, and cookies for a DIY treat table.
Additional Tips
1. Line your pan well
Use parchment paper with overhang so you can lift the whole slab out before cutting. It makes slicing easier and cleaner.
2. Don’t skip chilling
Each layer needs time to set properly. If you’re in a hurry, 20 minutes in the freezer per layer can speed things up.
3. Use good quality chocolate
Since chocolate is the top layer, it really shines. Use chips or bars you’d enjoy eating plain.
4. For cleaner cuts
Run a sharp knife under warm water, dry it, and slice while the bars are cold.
5. Store cold, serve slightly chilled
They’re best kept in the fridge or freezer, but taste great at cool room temp.
Recipe Variations
Crunchy twist:
Use crunchy peanut butter for texture, or stir crushed pretzels into the peanut butter filling.
Gluten-free option:
Use gluten-free graham crackers for the crust. Everything else is naturally gluten-free.
Dairy-free version:
Use plant-based butter and dairy-free chocolate chips. Most natural peanut butters are already dairy-free.
Nut-free alternative:
Try using sunflower seed butter or a soy-based spread if you need to avoid peanuts.
Extra indulgent:
Swirl a little caramel or drizzle white chocolate on top for a layered effect.
Serving Suggestions
- Picnic or potluck: These travel well if kept cool.
- Lunchbox treat: Just wrap individually and keep chilled until snack time.
- Late-night craving cure: Store a few in the freezer for when your sweet tooth hits.
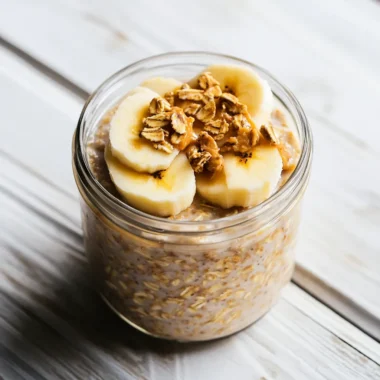
- Pair with fruit: Serve with sliced strawberries or bananas for a little freshness on the side.
Freezing and Storage
Refrigerator:
Store in an airtight container in the fridge for up to 1 week.
Freezer:
Freeze in a single layer on a baking sheet, then transfer to a freezer-safe container. They’ll keep for up to 2 months. Thaw in the fridge or enjoy straight from the freezer for a firmer texture.
Best for make-ahead:
You can make the full batch in advance and store it chilled until you’re ready to serve. Just slice right before serving for the cleanest edges.
Special Equipment
- 8×8 or 9×9 inch square pan
- Parchment paper
- Mixing bowls
- Hand mixer or stand mixer (optional but helpful)
- Offset spatula (for smooth layers and spreading)
- Microwave-safe bowl (or a double boiler for melting chocolate)
FAQ Section
Can I make these ahead of time?
Yes! They’re perfect for make-ahead. Just keep them chilled and slice before serving.
Do I need to bake the crust?
Nope. The melted butter binds the graham cracker crumbs perfectly once chilled.
Can I use natural peanut butter?
Yes, but make sure it’s well-stirred and not too oily or dry. Shelf-stable peanut butter gives a firmer texture.
Can I use almond or cashew butter instead?
Absolutely. The flavor will change slightly, but it’s still delicious.
What kind of chocolate is best?
Semi-sweet gives that perfect balance, but milk chocolate is great if you prefer a sweeter top. You can also do a mix.
How long do these last?
Up to a week in the fridge or 2 months in the freezer.
Can I double the recipe?
Yes, just use a 9×13-inch pan and double all ingredients. Chill time may increase slightly.
Are they too sweet?
They’re rich, but not overly sweet—especially if you use natural peanut butter and semi-sweet chocolate. You can always cut the powdered sugar by 1/4 cup if you want them a little less sweet.
Do I have to use brown sugar in the crust?
It’s optional. It adds a little depth and sweetness but isn’t necessary if your graham crackers are sweet.
Can kids help make these?
Yes! No baking, no knives—just mixing, layering, and chilling. It’s a great one to make together.
Conclusion
Whether you’re craving a slice of Disney nostalgia or just need an easy, no-bake dessert that delivers every time, these Disneyland Peanut Butter Squares are the answer. They’re creamy, chocolatey, and perfectly balanced with that graham cracker crunch underneath.
Make a batch, keep a few in the fridge (or freezer), and share the rest—if you can part with them. And if you try them out, I’d love to hear what you think. Tag me with your homemade Disney treats or drop a comment below. Let’s keep the magic going, one square at a time.
Print
Disneyland Peanut Butter Squares
- Total Time: 1 hr 15min
Description
Inspired by the famous Disneyland treat, these peanut butter squares are chewy, sweet, and packed with rich peanut butter flavor. Easy to make at home, they’re perfect for satisfying your sweet tooth with a nostalgic twist.
Ingredients
-
2 cups creamy peanut butter
-
1 cup unsalted butter, melted
-
2 cups powdered sugar
-
4 cups crispy rice cereal
Instructions
1️⃣ In a large mixing bowl, combine the melted butter and peanut butter until smooth and well blended.
2️⃣ Gradually add the powdered sugar, mixing until fully incorporated.
3️⃣ Fold in the crispy rice cereal, stirring gently until the cereal is evenly coated.
4️⃣ Press the mixture firmly into a greased 9×13-inch pan, smoothing the top evenly.
5️⃣ Refrigerate for at least 1 hour to set.
6️⃣ Once firm, cut into squares and serve.
Notes
-
For extra flair, drizzle melted chocolate over the top before chilling.
-
Store leftovers in the refrigerator to keep squares firm.
-
Use crunchy peanut butter if you prefer texture in every bite.
-
These squares are great for parties, lunchboxes, or a quick snack.
- Prep Time: 15 min
- Cook Time: 1 hr